
Working with Davinci Resolve is usually a little stressful for beginners. In this post I will show you the basics of subtitle editing, give some hopefully helpful points at the beginning and suggest a different program for editing subtitles.
1. Getting started
If you are working with Davinci on a laptop, get yourself a blue tooth mouse. It is easier to click precisely. Davinci uses a lot of CPU. Meaning it will crash at some point if it is run on a laptop. Because it is using this much CPU the video will probably stutter when you’re playing it in Davinci. This is normal and not a malfuntion. The more you edit, the more likely is the stuttering.
1.1 The good news is:
-Davinci is a non-distructive programm. If you want to reverse your actions just press STRG+Z.
-There are a lot of free tutorials on YouTube and most of the time you will find problem solutions quickly.
Let’s start with the basics:
You have seven panes in which you can work on different things.
These are the little symbols at the bottom.
From left to right they are:
- media (this is where your media is shown basically)
- cut (mostly used for cutting but you can do that in the edit pane as well)
- edit ( where you will work most of the time generally)
- fusion (you can remove greenscrens here)
- color (you can remove greenscreens here but much easier and better)
- fairlight (this is where you can correct audio)
- deliver (this is where you can produce your videos)
For our purposes (which is mostly putting subtitles into videos) we are interested in two of them: „Edit“ and „Deliver“.
Click on the „edit“ pane button.
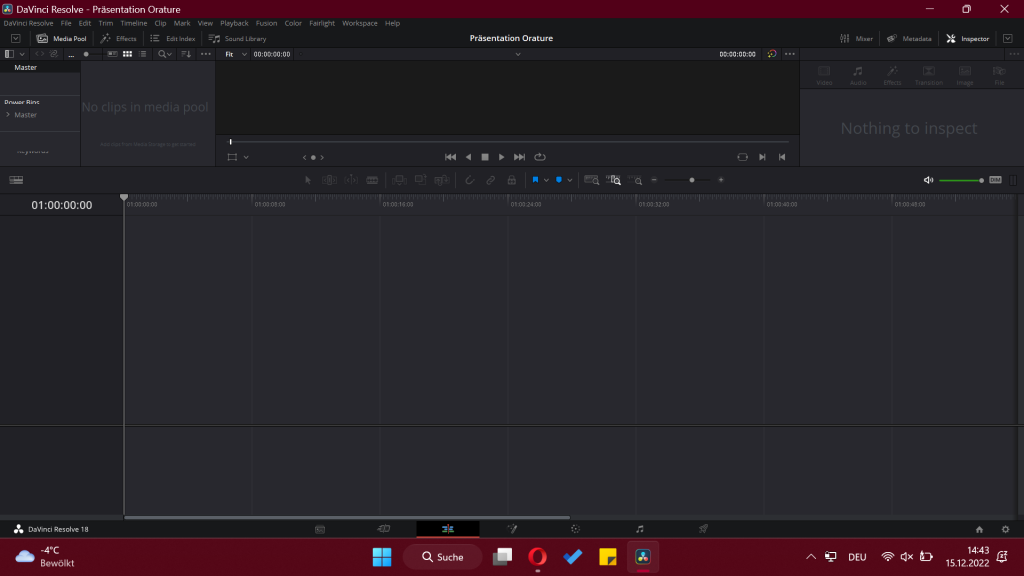
Now, what you see is still an empty project. But we obviously want to import some files so, how do we do that?
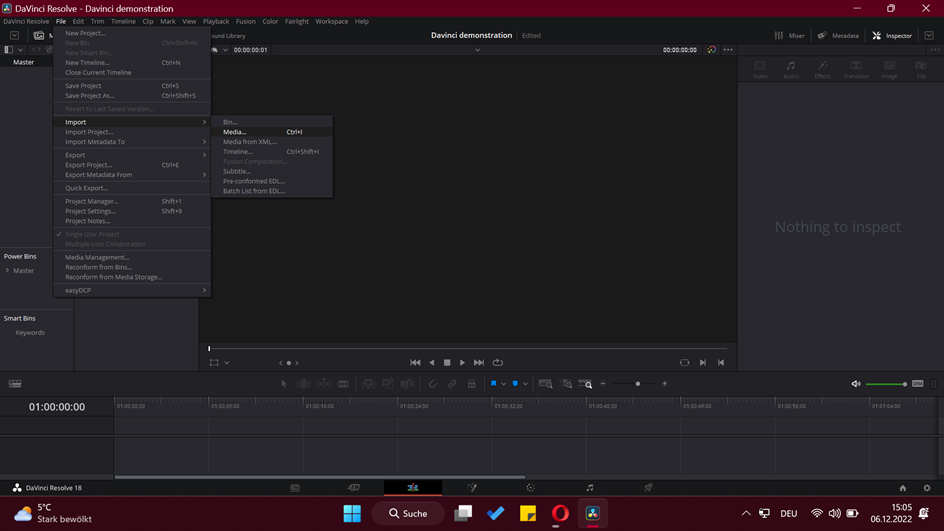
You can use the easy way and press STRG+I on your Laptop keyboard (sometimes it is CTRL+I – that varies).
Or you use the menu:
Go to File. Choose Import. Choose Media.
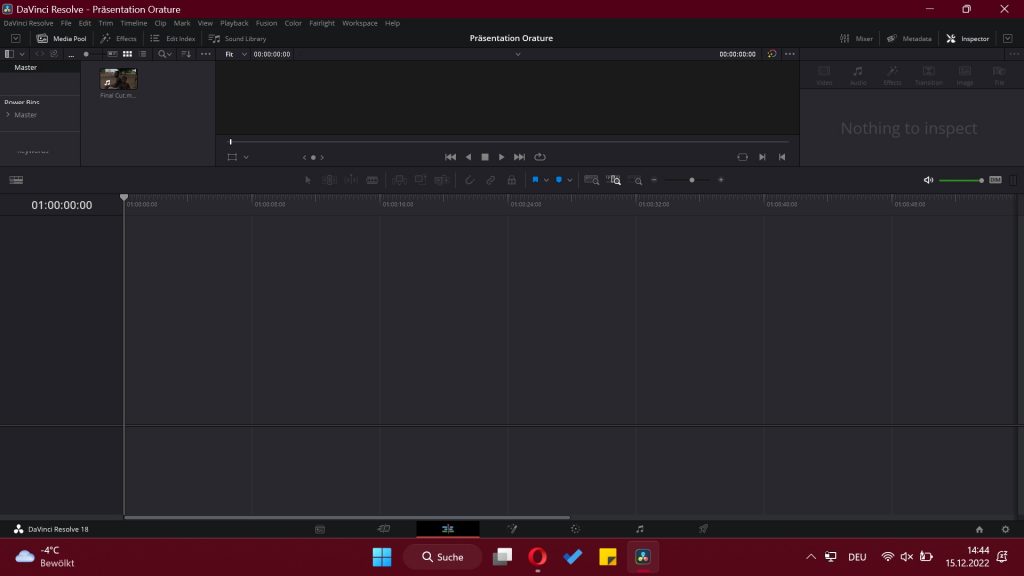
Double click on the file in the opened window and it should appear in your Davinci media pane on the left:
Drag the file into timeline 1:
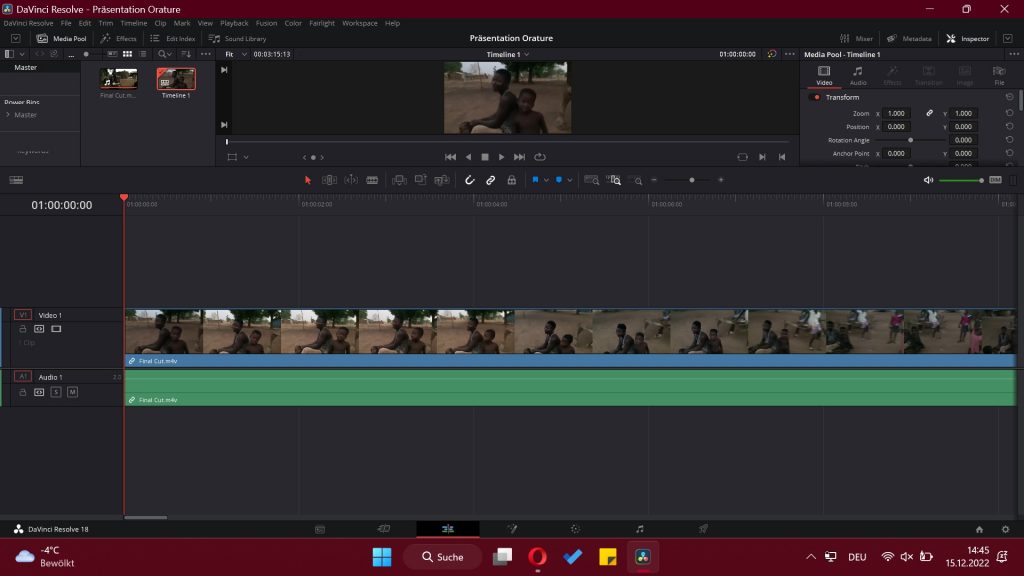
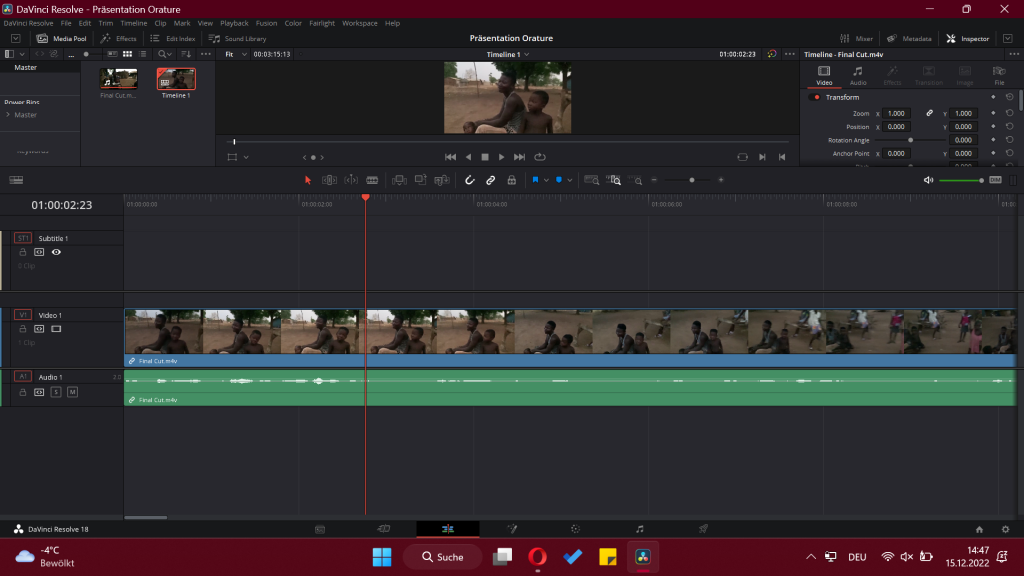
The audio of the video will appear separately in „Audio 1“ directly under „video 1“. Always play the video to check if it is working correctly. Press „space“ to start the video and press it again to stop it.
2. Editing Subtitles
Above „Video 1“ there is a free space. Right click there with the mouse:
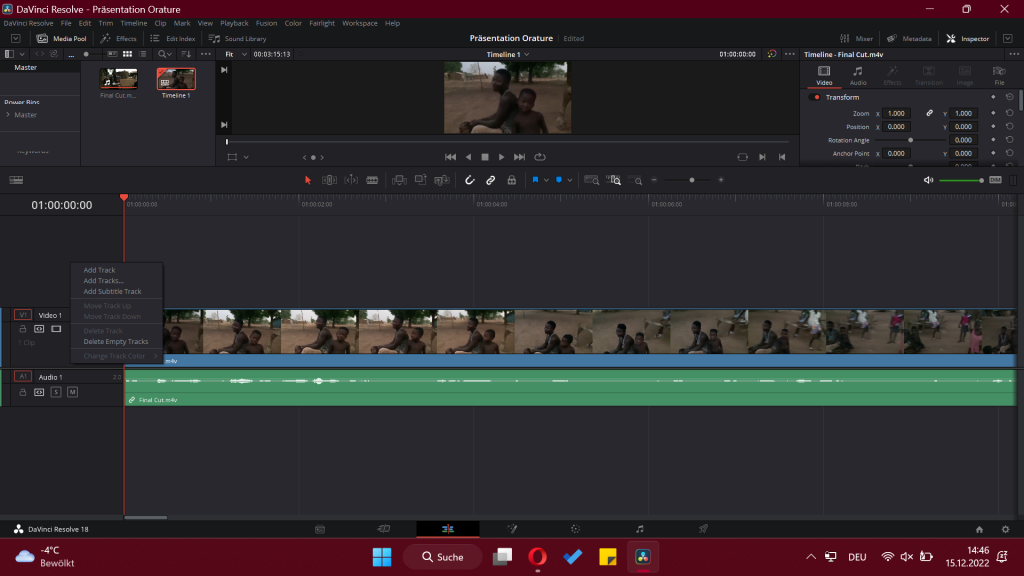
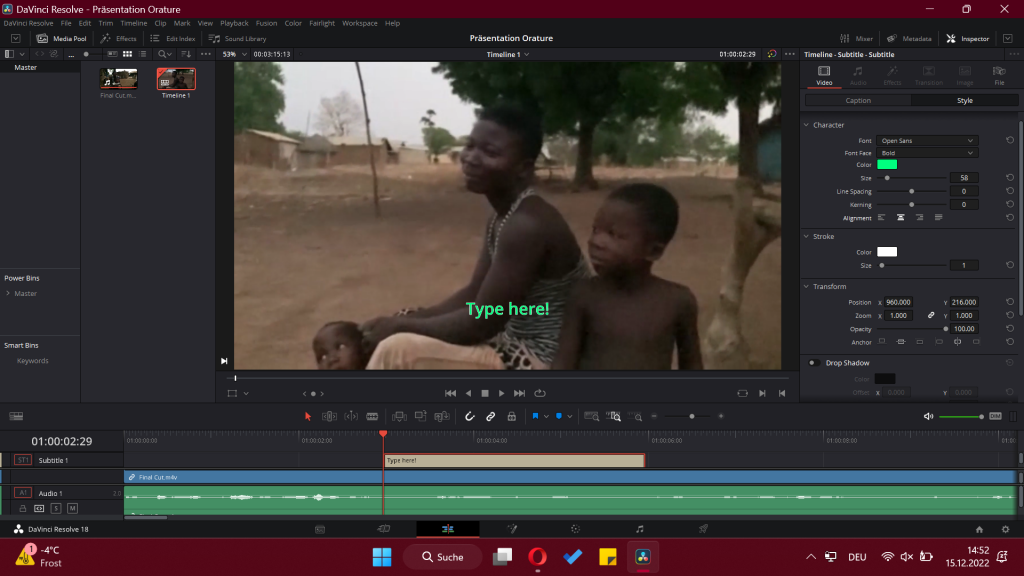
Choose „Add Subtitle Track“. Subtitle1 appears above Timeline:
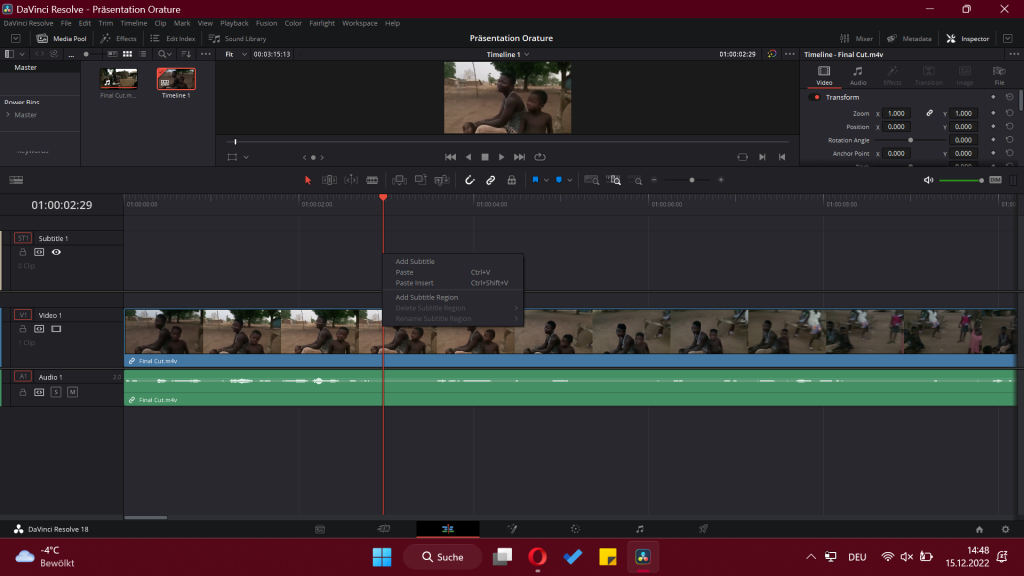
Move the needle to the part where you want to put the subtitle. Right click on mouse and choose „Add Subtitle“:
The subtitle track appears in beige:
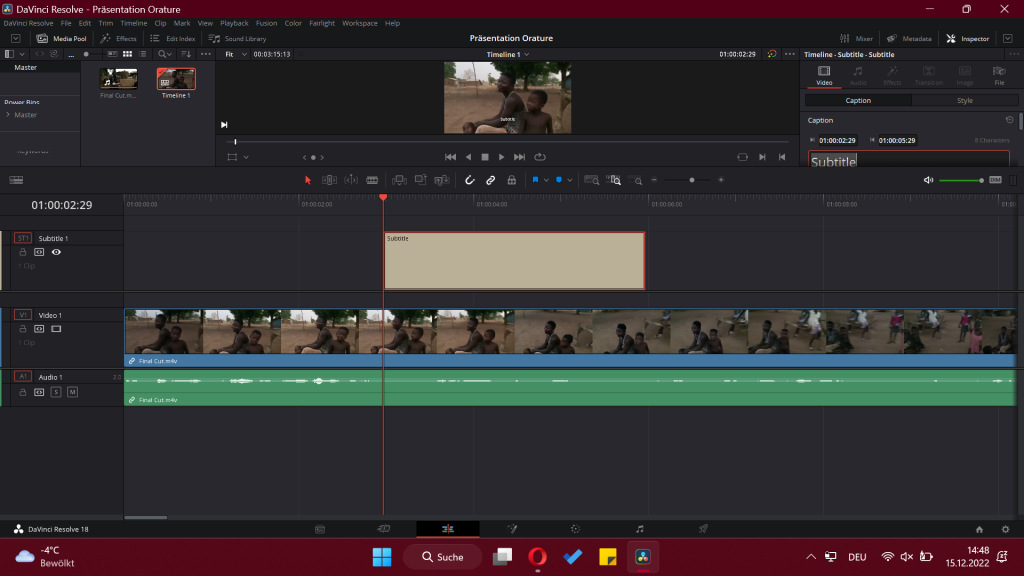
If you click on the subtitle track the subtitle edit pane appears on the right. You can type them into the video in this pane.

To adjust the length of the subtitle move the cursor onto the side of subtitle block. When it shows two brackets keep left mouse button pressed. Drag them to the side you want the subtitle track to extend to.
It’s easier if you zoom in on the timeline. You can do that under the video (small lenses or -_______+. )
If you switch into the „style“ page in the subtitle options you can change size and colour.
To remove a subtitle track click on it and press STRG+X.
You will have to edit every subtitle manually. This will take you some time.
3. A suggestion
A suggestion:
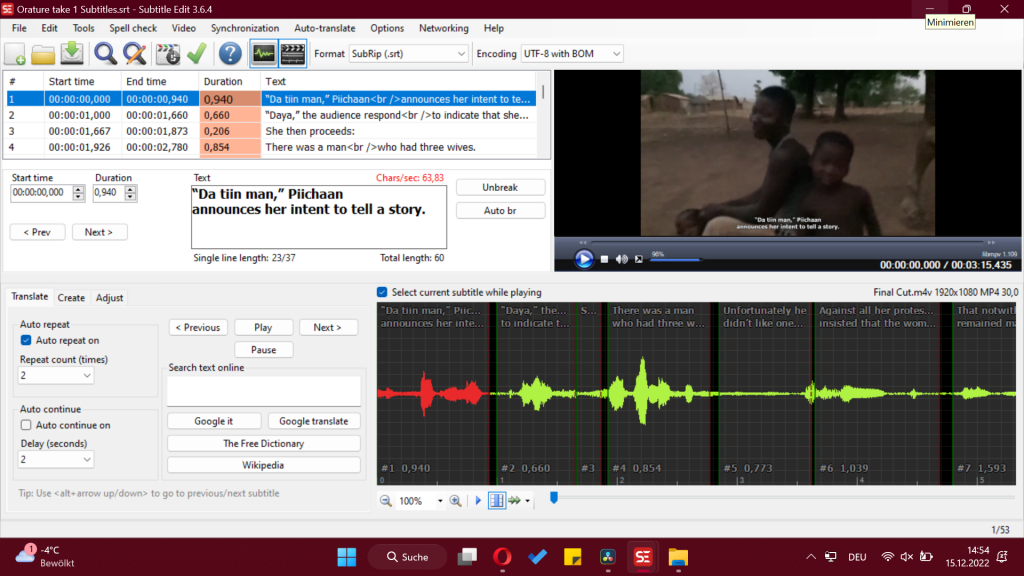
I want to suggest editing subtitles with SubtitleEdit. The reasoning behind this is:
1. it would safe us time
2. we can seperatly safe the subtitle file
3. it is much more comfortable
Subtitle Edit is opensource.
The benefits of it are:
– You can import full text
File –>import plain text
– SE will show you which lines are too long (it marks them red).
– you can drag and drop the video into the program
– you have a big audio line. Visualization is very helpful.
– you can almost entirely manage the program with shortcuts
– you can adjust the subtitle length a lot more easily.
– colour changing is manageable by clicking right on your mouse.
– you have a lot of data formats you can save it under.
4. Final Steps
After you have finished the project in SE you can save it as .srt file and drag this file into your Davinci project.
Place the .srt file into subtitle timeline.
All the subtitles are there now. Usually they are connected and you can move them as a whole.
Adjust them by dragging.
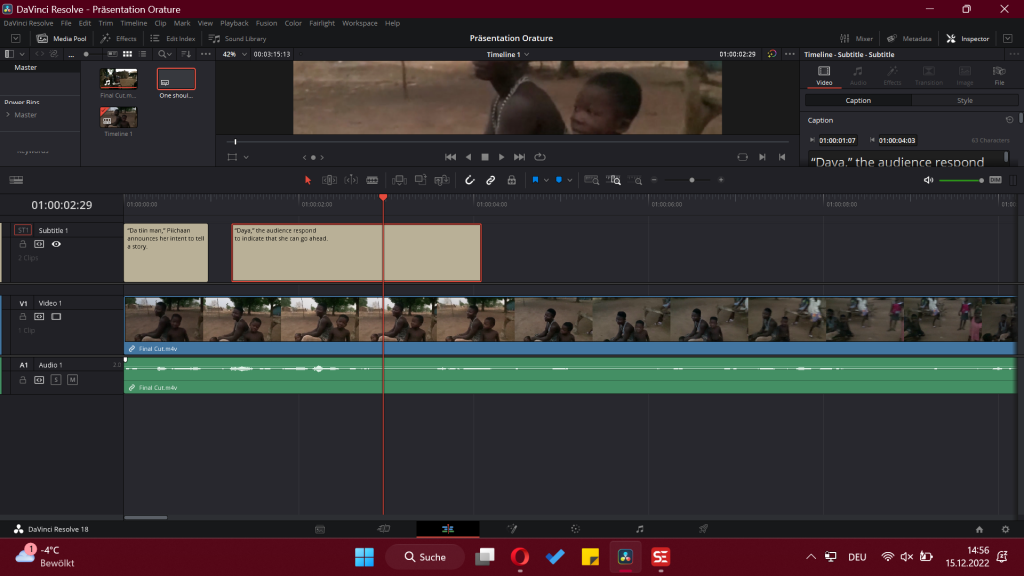
Style changes can still be made in the side bar.
Export the video in the format you want.
Move to “Deliver”:
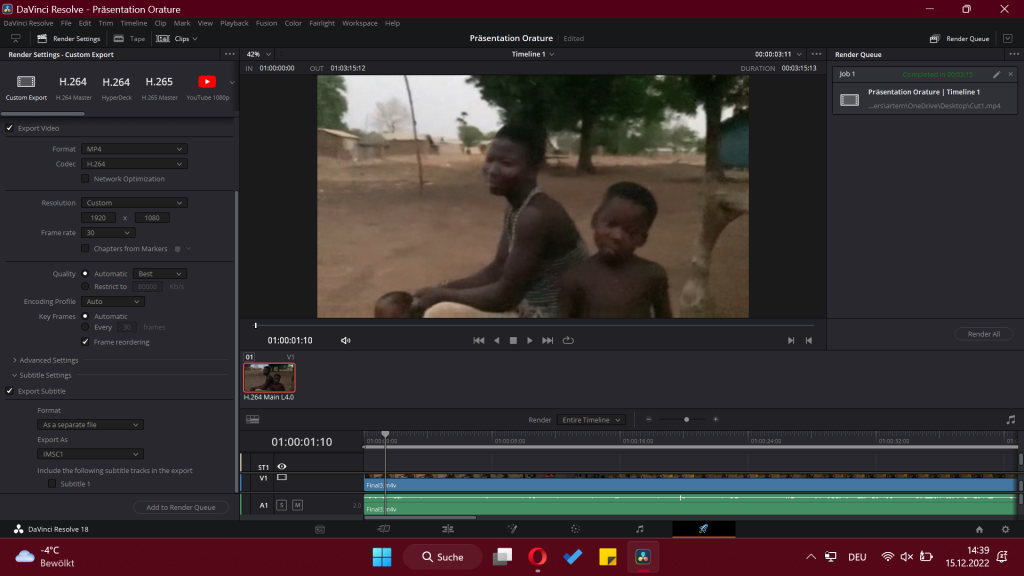
If you choose to „burn the subtitles into the video“ under ‘subtitle settings’ they will be in the video permanently. You can import them as a ‘separate file’ too. Or you chose to export them as ’embedded captions’.

Hi Lisa, thank you for your insights. Your blog entry is very useful for getting started! I am also very thankful that you introduced us to SubtitleEdit, which is a bit easier to work with, indeed!
Thanks, Lisa, for this wonderful blog post. Very informative!!! ?