Hello everyone!
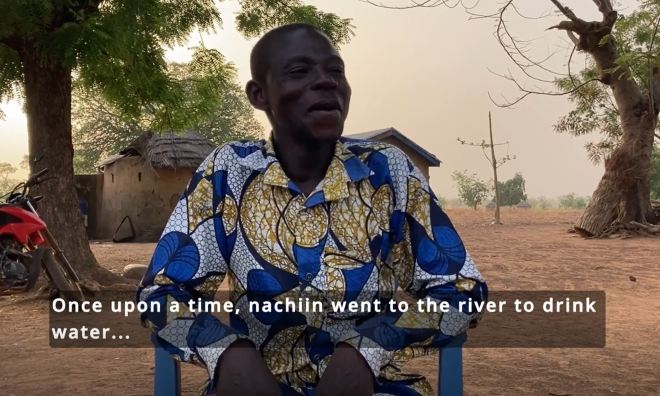
In this post I’m going to tell you a little bit about our last “Demarginalising Orature” session. As you may have guessed from the title, we talked about and worked on video editing and especially subtitling. In the past few weeks we have learned about Konkomba folktales, language and culture, we have worked with some of the folktales by encoding them using TEI. And now the next step is editing videos of Konkomba people narrating the folktales. Ultimately, you will find them in the HHU Mediathek.
Our last session
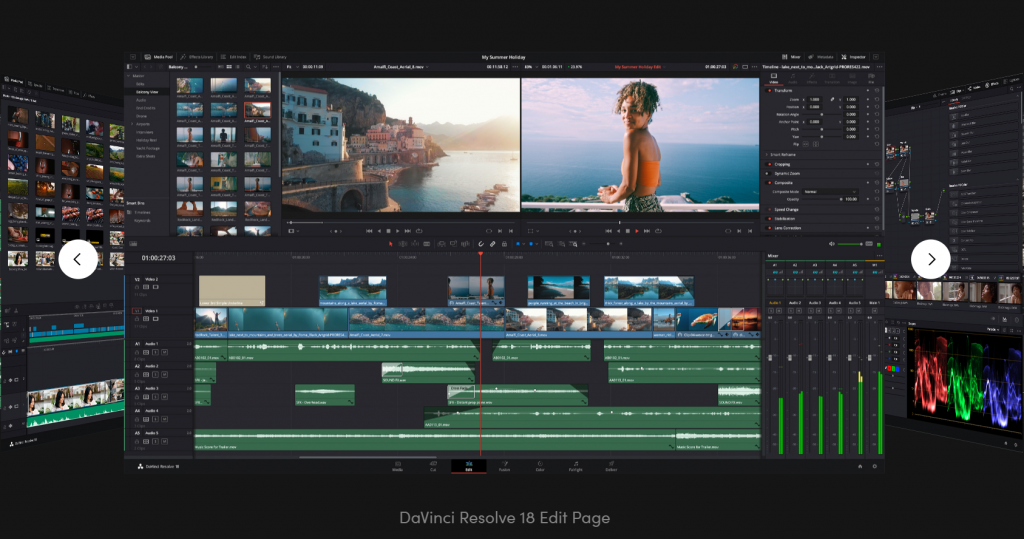
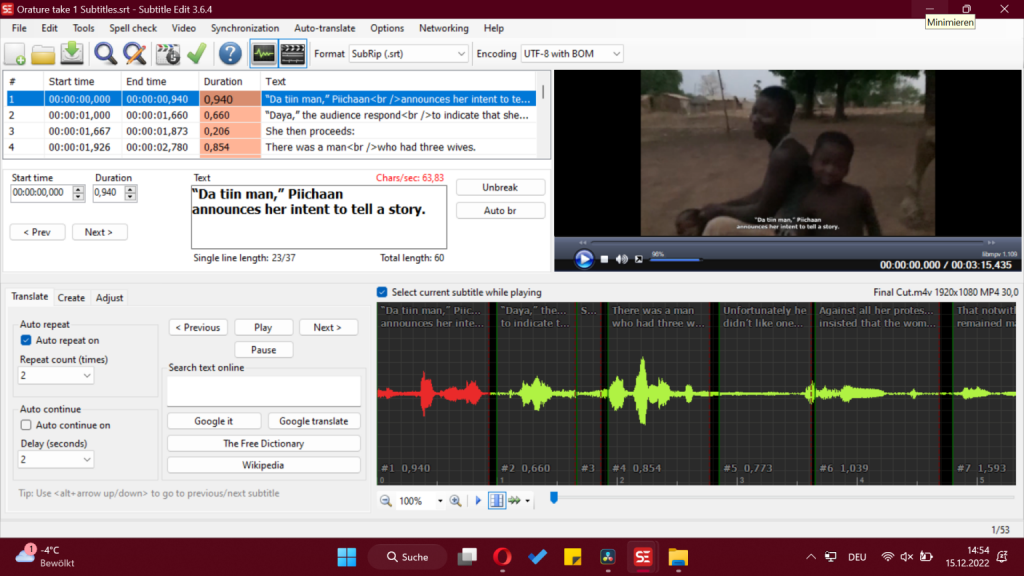
So, what happened in our seminar? Firstly, our tutor Jana gave a presentation, introducing us to a video editing program called DaVince Resolve (DVR). She also introduced us to some of the basics of subtitling. E.g. the length of a subtitle, which should be no more that 30 characters per second. The ideal length is 15-20 CPS but as Jana pointed out, this is quite difficult to achieve. Futhermore, a subtitle should always start synchronously with the speech (defining a subtitle’s start and stop point is called spotting). If the subtitle comprises 2 lines, it should be presented in pyramid form, so the upper sentence should ideally be shorter than the lower one. There are many more rules and conventions regarding subtitling but naming them all would go beyond the scope of this blog entry.
DaVinci Resolve and SubtitleEdit

Then, a fellow student, Lisa, also gave a short presentation on DVR and also introduced us to another program. According to both Jana and Lisa, DVR can be a bit difficult to work with, especially in the beginning. But luckily Lisa is familiar with another subtitling software, which she introduced to us as well. It is called SubtitleEdit. You can find a very useful step by step tutorial for DVR and SubtitleEdit in her blog entry. Some “fun facts”: According to their website, DaVinci Resolve is Hollywood’s #1 post solution. Apparently, many films and TV-shows are edited in DVR. It was first released in 2004. SubtitleEdit, on the other hand, is a free open-source subtitle editor.

Conclusion
To sum it up, in our last session we learned about subtitles and subtiling tools. During our session, DaVinci Resolve made my laptop crash and there were definitely some initial difficulties. But SubtitleEdit is a bit more beginner-friendly and in the end we will manage to subtitle all our folktale videos, I am sure! Yet another step to conserving orality and making Konkomba folktales accessible to a broader audience!

Great piece, Livia. Thanks for sharing.